 how-to
Handling Hidden Damage During Home Renovation
Table of Contents
- What Counts as Hidden Damage in a Home Renovation
- Common Hidden Home Repair Issues That Appear Mid-Project
- Your Stop-Work Protocol: What to Do the Moment You Find Damage
- Documenting Hidden Damage for Insurance and Your Records
- How to Talk to Contractors About Change Orders
- Renovation Contingency Budget: How Much to Set Aside
- How Hidden Damage Causes Renovation Project Timeline Delays
- Frequently Asked Questions
Last Updated: September 11, 2026
What Counts as Hidden Damage in a Home Renovation
Hidden damage is any defect, deterioration, or hazard not visible during the initial walkthrough that only becomes apparent once walls, floors, or ceilings are opened. At Times Square Remodeling Inc., handling it is less about predicting the unpredictable and more about having a plan.
Damage You Can See Once Walls Open
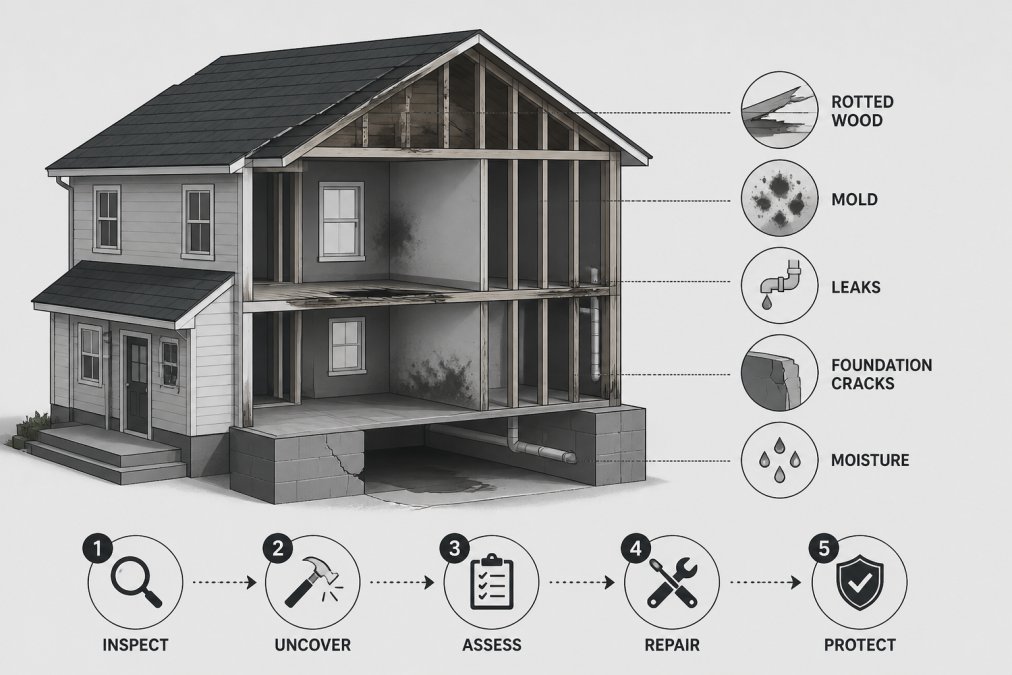
Once demolition begins, several problems become visible: water staining on framing, soft drywall, termite galleries in studs, discolored sub-floor damage, corroded plumbing leaks, and frayed wiring behind cabinets. These are disruptive but visible, you can photograph them, get estimates, and decide with clear information.
Damage That Stays Invisible Until It Fails
The more dangerous category stays hidden even after the walls come down. Moisture intrusion inside a wall cavity can leave the visible surface dry while the framing behind it is compromised. A slow plumbing leak may seep for years without a stain. Framing notched or drilled improperly by a previous owner can look fine until a load is applied.
A common mistake is assuming an opened wall reveals everything. It doesn't. Moisture meters, thermal imaging, and a careful eye for staining patterns separate a thorough assessment from a superficial one.
Common Hidden Home Repair Issues That Appear Mid-Project
Common hidden home repair issues fall into two categories: water-related deterioration and safety or structural hazards. Both can stop a project cold if handled out of order.
Water Damage, Dry Rot, and Mold
Water is the most frequent culprit behind mid-project surprises. Dry rot in framing, mold inside wall cavities, and failed sealant around windows and doors are common in older homes. Soffits and fascia are frequent weak points because sealant failure allows moisture intrusion over many seasons.
What most guides miss: mold remediation and water damage mitigation are not the same as repair. Remediation addresses the contamination and moisture source; repair addresses the structure. Doing them out of order means you'll be back in the same wall in a year.
Structural, Electrical, and Pre-1980 Material Hazards
Structural issues often surface when a wall is opened for a kitchen or bathroom remodel. A previous owner may have removed a load-bearing element without adding a header, or cut into a joist to run a drain line. Electrical code compliance is another frequent issue: older wiring may lack grounding, or a circuit may have been extended beyond its intended load.
Homes built before 1980 carry additional risk (the EPA). Lead-based paint and asbestos-containing materials can be present in flooring, insulation, and joint compound. Asbestos abatement and lead-safe work practices are regulated activities, and the rules that apply depend on your state and local jurisdiction. If you suspect these materials, the work stops until a licensed inspector has tested and cleared the area. You can review current requirements through the EPA's lead-safe certification program.
Your Stop-Work Protocol: What to Do the Moment You Find Damage
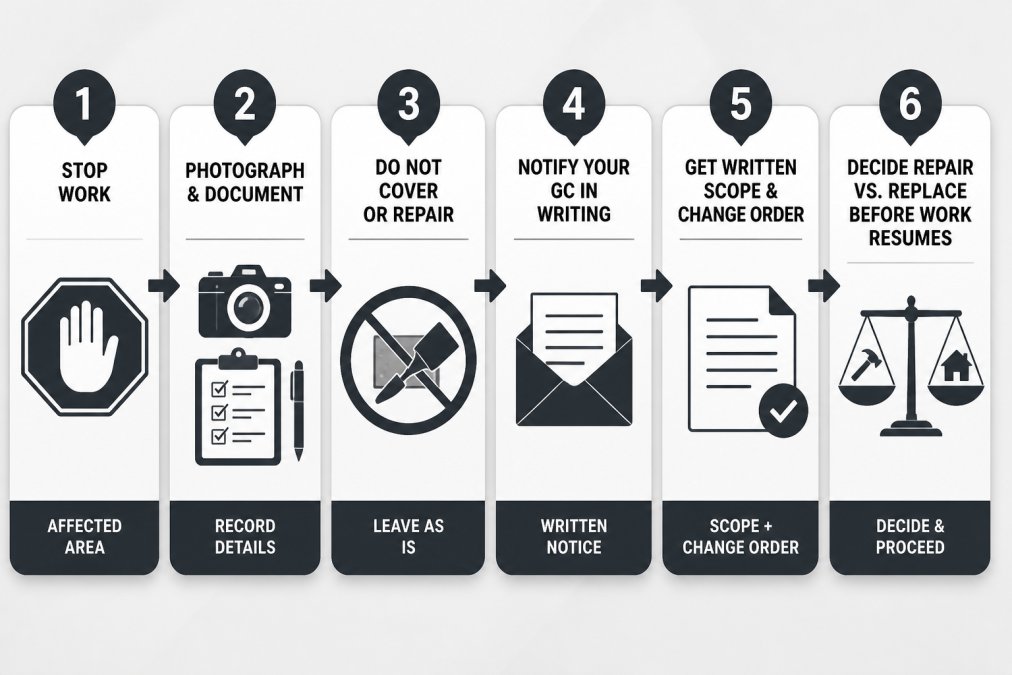
The moment you find damage, stop all work in the affected area. Do not cover it, do not repair it, and do not let anyone convince you to "just work around it." The next 48 hours determine whether this becomes a manageable change order or a project-ending dispute.
Here is the six-step protocol we use:
- Stop work in the affected area. Isolate the zone. No demolition, no covering, no temporary patch.
- Photograph and document everything. Wide shots, close-ups, and a reference object for scale. Note the date and location.
- Do not cover or repair. Covering damage destroys evidence and can void insurance claims.
- Notify your general contractor in writing. Email is fine. Keep a record.
- Get a written scope and change order. No verbal agreements. Ever.
- Decide repair versus replace before work resumes. This decision affects cost, timeline, and permits.
The DIY vs. Pro Decision Matrix
Step six is where most homeowners freeze. Very little hidden damage is a safe DIY repair, but not all of it requires the same level of licensed involvement. Use this matrix before you approve anything.
| What you found | Can a homeowner touch it? | Who must be involved |
|---|---|---|
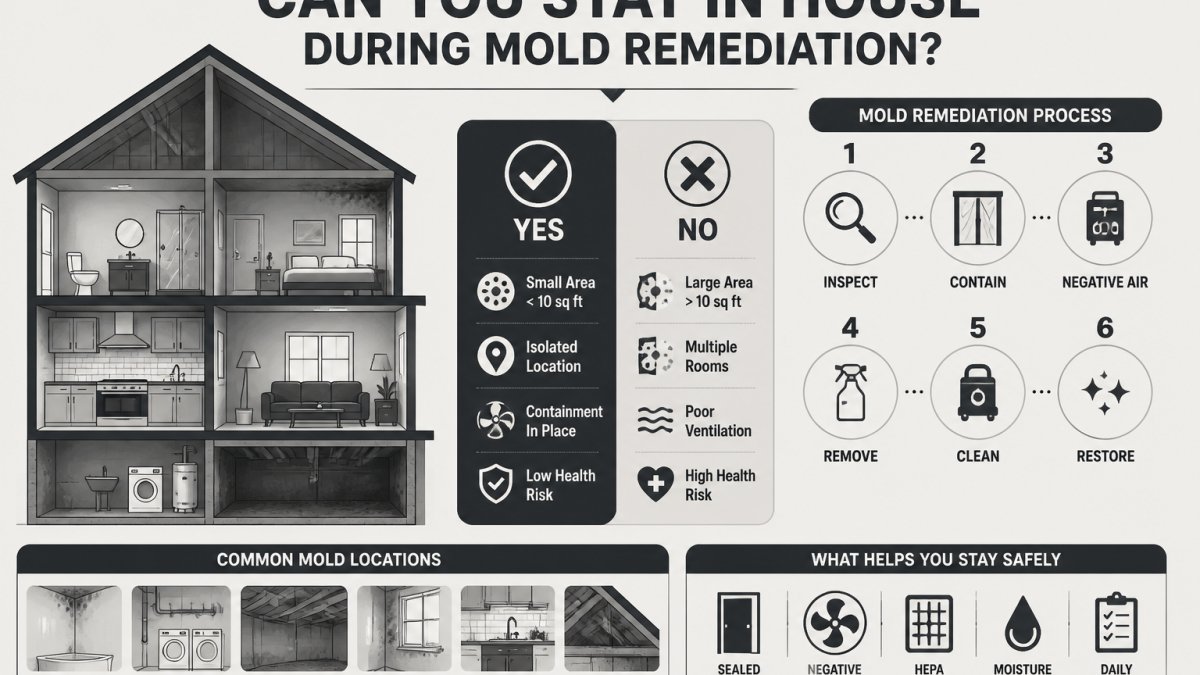
| Surface mold on painted drywall (small area, no moisture source) | Sometimes, with proper PPE and containment | A remediator if the area is larger than roughly 10 square feet or the moisture source is unresolved |
| Dry rot in a single trim board or non-structural fascia | Rarely worth it | A licensed contractor, because the extent is usually larger than it looks |
| Soft or crumbling subfloor | No | Licensed contractor; possible structural evaluation |
| Notched, cut, or drilled framing member | No | Licensed structural contractor and often a permit |
| Frayed or ungrounded wiring | No | Licensed electrician; permit almost always required |
| Slow plumbing leak inside a wall cavity | No | Licensed plumber; dry-out and possible mold assessment |
| Suspected asbestos or lead paint | Absolutely not | Licensed abatement or lead-safe certified firm |
Three rules govern this matrix. First, if the damage touches structure, electrical, plumbing, or a regulated material, it is not a homeowner task, full stop. Second, if you cannot see the full extent, you cannot decide whether it is DIY, because you are guessing. Third, if the repair requires a permit, the permit requires a licensed trade in most jurisdictions.
The DIY temptation usually comes from cost anxiety. A homeowner sees a rotted sill plate and thinks a few boards and a Saturday will fix it. But rot almost always extends further than the visible damage, and a repair that ignores the moisture source will fail within a season, the money saved on the first repair is spent twice on the second.
Managing the Budget-Shock Moment
Most guides treat hidden damage as a technical problem. It is also an emotional one, and that response causes bad decisions in the first 48 hours.
The pattern is predictable. You have a signed contract, a fixed budget, and a timeline you've told your family about. Then a wall opens and the number moves. The instinct is to panic-approve whatever the contractor proposes or freeze entirely. Both cost money.
A few things help. First, expect the moment: if you assumed zero surprises, every finding feels like a crisis; if you expected one or two, the same finding feels like a line item. Second, separate the decision from the discovery, ask for the written scope, take 24 hours, and compare it against your contingency. Third, tell your contractor what you're feeling. "This is a bigger number than I planned for and I need a day to look at it" is reasonable, and a professional will respect it.
The homeowners who come through this well are not the ones who never find damage. They built a contingency, expected the call, and decided on paper instead of in a panic.
Documenting Hidden Damage for Insurance and Your Records
Documentation is the difference between a covered claim and a denied one. Homeowners insurance generally covers sudden and accidental damage, not long-term deterioration, a distinction decided almost entirely by what you can prove.
Your documentation package should include dated photographs, a written description of what was found and where, the contractor's written assessment, and any test results such as moisture readings or lab reports. Keep copies of every email and text message. Prior seller disclosures can also be relevant.
Undisclosed defects that predate your ownership may fall outside your policy, but they can sometimes be pursued through other channels. The key is to document first and argue later. Once a wall is closed, your evidence is gone.
How to Talk to Contractors About Change Orders
A change order is a written amendment to the original contract documenting a change in scope, cost, or timeline. It protects both sides. The problem is not change orders themselves, it's contractors who use them as a blank check.
When hidden damage is found, ask for a change order that includes three things: a specific description of the work, a line-item cost breakdown, and a revised completion date. If the contractor cannot or will not provide a line-item breakdown, that is a red flag.
Here is a negotiation script you can adapt:
"I understand this is additional work. Before I approve anything, I need a written change order with a line-item breakdown of labor and materials, and a revised completion date. I'm not disputing that the work needs to happen. I just need to see the numbers before I sign."
This is not confrontational. It is standard practice. A professional contractor will respect it.
Never approve a change order based on a verbal estimate. If the number changes after the work is done, you have no recourse. Get it in writing before a single nail is pulled.
Renovation Contingency Budget: How Much to Set Aside
A renovation contingency budget is money set aside for unforeseen conditions. Industry guidance recommends 10% to 20% of total project cost, with the higher end for older homes or projects that open walls (hud.gov).
The contingency is not a slush fund. It is a defined reserve you draw from only when a documented hidden condition requires it. If you don't use it, you keep it; if you do, you have a record of where it went.
| Project Type | Suggested Contingency | Why |
|---|---|---|
| Cosmetic refresh, newer home | 10% | Limited demolition, low risk |
| Kitchen or bath remodel, 1980-2000 home | 15% | Plumbing and electrical surprises likely |
| Full remodel, pre-1980 home | 20% | Lead, asbestos, and structural risk |
| ADU or addition | 15-20% | Site conditions and permit variables |
How the Contingency Actually Gets Drawn Down
A percentage on a spreadsheet is not a plan. What separates calm homeowners from panicked ones is knowing how the reserve is used.
Set the contingency as a separate line in the contract, not as padding inside the base bid. If it's buried in the original number, you can't tell whether you're drawing on it or being upcharged. Ask your contractor to show it as its own line item with its own draw schedule.
Track every draw against a written change order. When a hidden condition triggers a repair, the change order should state the scope, the cost, and that it's paid from the contingency. At any point you should be able to answer one question: how much of the reserve is left? If you can't answer in under a minute, tracking has broken down.
Decide in advance what happens when the contingency is exhausted. If you set 15% and burn through it at the halfway mark, you have three options: pause and re-scope, add to the budget from savings or financing, or descope a lower-priority item. Pick your order of preference before the project starts, while you're calm.
A common pattern is two tiers: a primary reserve for anything legitimate, and a secondary reserve you only touch if the finding is structural, safety-related, or required by a permit inspector. This keeps a small cosmetic surprise from eating the money you need for the load-bearing one.
For current pricing on your specific project, request a written estimate from Times Square Remodeling Inc. rather than relying on generic ranges.
How Hidden Damage Causes Renovation Project Timeline Delays
Renovation timeline delays almost always trace back to three causes: waiting on inspections, materials, or decisions. Hidden damage triggers all three.
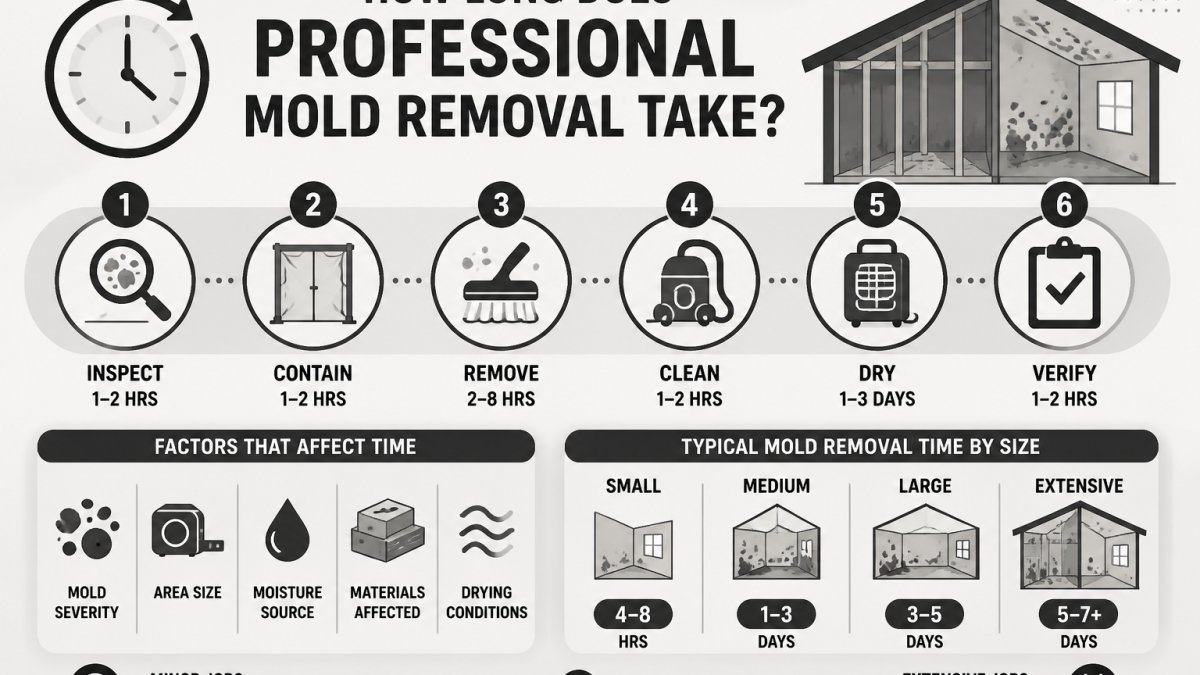
A single mold remediation or asbestos abatement finding can add weeks, because the work must be done by a licensed specialist and the area cleared before your contractor returns. Structural repairs may require a permit and inspection before the wall can be closed. Every day you spend deciding repair versus replace is a day the crew isn't working.
The contractors who finish on time are not the ones who never find hidden damage. They plan for it. A realistic schedule includes buffer time for inspections and change-order approvals. If your contractor hands you a timeline with no buffer, ask why.
Ask your contractor to identify which phases of your project are most likely to reveal hidden damage. Kitchens and bathrooms top the list. Knowing the risk points in advance lets you pre-approve a contingency and keep the schedule moving.
Frequently Asked Questions
How much should I set aside for a renovation contingency budget?
A common guideline is 10 to 20 percent of your total project cost, and 20 percent or more for older homes where hidden damage is likely. On a project with a tight scope, 10 percent may cover small surprises like a rotted sill plate. On a full kitchen or bathroom gut, 20 percent gives you room for sub-floor damage, outdated wiring, or plumbing that fails inspection. Keep the contingency in a separate account and treat it as untouchable until damage is confirmed in writing.
Does homeowners insurance cover hidden damage found during a remodel?
Sometimes, but it depends on the cause. Sudden events like a burst pipe or storm damage are often covered. Long-term moisture intrusion, dry rot, and deferred maintenance usually are not, because insurers treat them as neglect. If you find damage mid-project, photograph everything before it is covered or repaired, review your policy language, and file a claim promptly. Your contractor can provide written documentation and repair estimates to support the claim.
Should I stop the renovation if I find hidden water damage?
Yes, pause work in the affected area until the source is found and the damage is assessed. Covering wet framing or sub-floor traps moisture, feeds mold, and can void parts of your warranty. A stop-work pause of a few days is far cheaper than redoing finished work later. Have your contractor document the findings, get a written scope for the fix, and confirm the moisture source is corrected before drywall or tile goes back up.
How do I talk to my contractor about change orders without losing control of the budget?
Ask for every change in writing with a line-item breakdown: labor, materials, and time added. Compare it to the original scope so you can see what is truly new versus what should have been included. Never approve a verbal change or a lump-sum number. If a change order feels padded, ask for the repair estimate from the trade doing the work. Approve one change at a time, in writing, and keep a running total against your contingency budget.